Miele Coffee System Operations Instructions
Browse online or download Operations Instructions for Coffee making accessories Miele Coffee System. Miele Coffee System Operating instructions User Manual
- Page / 72
- Table of contents
- BOOKMARKS
- Operating instructions 1
- Freestanding coffee machine 1
- Disposing of your old machine 2
- Packaging material 2
- Contents 3
- Correct application 5
- Safety with children 6
- Technical safety 7
- Correct use 9
- Accessories 12
- Guide to the machine 13
- Display and controls 14
- Water hardness 16
- Operation 17
- Filling the water container 18
- Switching on and off 20
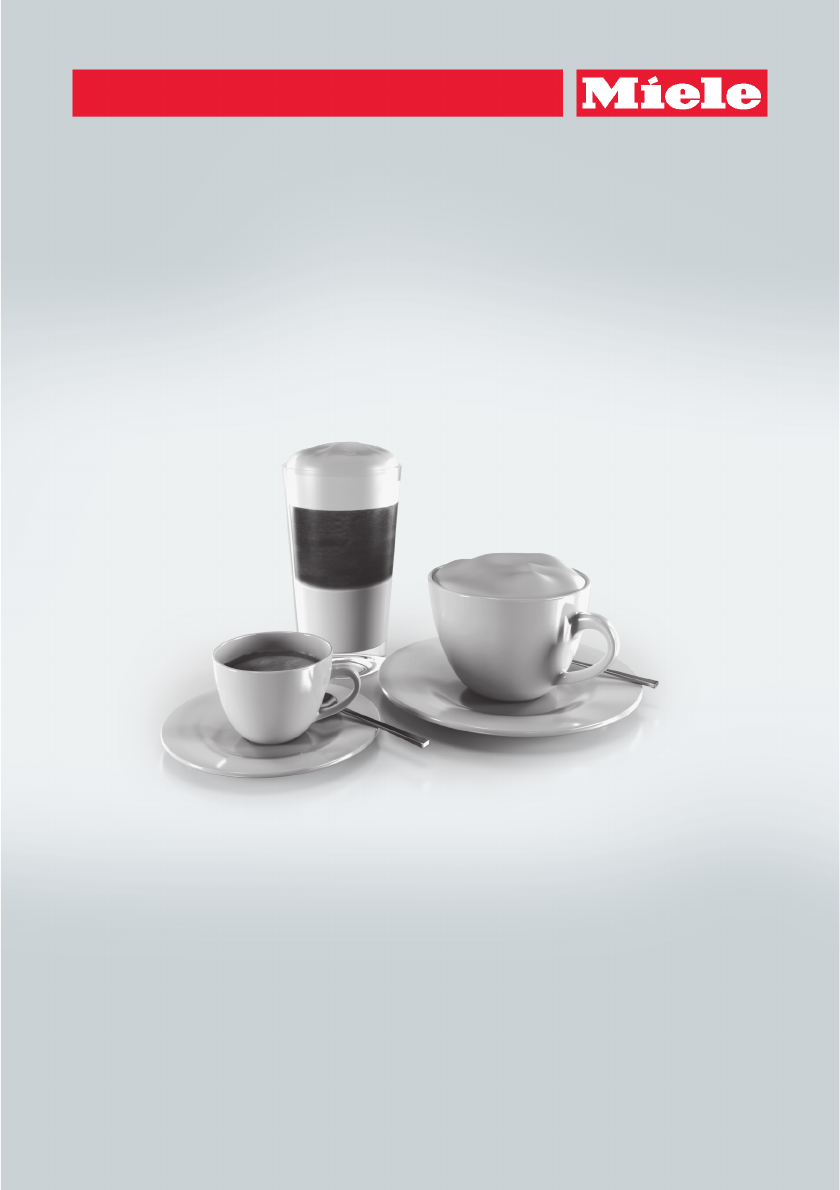
- Making drinks 22
- Coffee the way you like it 27
- Portion size 30
- Settings 32
- Cleaning and care 37
- Descaling 49
- Problem solving guide 51
- Transporting the machine 61
- After Sales / Guarantee 62
- Saving energy 63
- Electrical connection 64
- Installation 65
- Appliance dimensions 66
- Technical data 67
- M.-Nr. 09 732 130 / 03en-GB 72
Summary of Contents
Operating instructionsFreestanding coffee machineTo avoid the risk of accidents or damage to the machine, it is essentialto read these instructions be
~Only add ground coffee or cleaning tablets to the ground coffeechute. The cleaning tablets are used for degreasing the brew unit.~Only use milk witho
~Degrease the brew unit regularly with Miele cleaning tablets.Depending on the natural oil content of the coffee used, the brewunit can become blocked
The following accessories are includedwith your coffee machine dependingon model:–Measuring scoopfor ground coffee–Cleaning tabletsfor degreasing the
a Master switchb Controls and displayc Water containerd Ground coffee chutee Coffee bean containerf Grinder setting(behind the service panel)g Brew un
a On/Off - For switching the coffee machine on and offb Drink sensors For making. Espresso/ CoffeeH Cappuccinok Latte macchiatoc Display Shows informa
Before using the coffee machine forthe first time, please read theseinstructions and make yourselffamiliar with the appliance and itscontrols.Before u
Water hardnessThe water hardness level indicates howmuch calcium is dissolved in the water.The higher the calcium content, theharder the water, and th
To operate the coffee machine, touchthe sensors with your finger.You are in the drinks menu when thedisplay shows:{ MieleSelect drinkTo make a drink,
The quality of the water plays animportant part in the quality of thecoffee.Warning. Bacteria can causeinfection.It is important to empty and fill the
Fill the coffee bean container withroasted coffee beans if you want to usefreshly ground coffee beans for eachcup of espresso or coffee.Alternatively,
Packaging materialThe packaging material used protectsthe machine during transportation.Please retain the original box andpolystyrene pieces so that y
Switching onSwitch the master switch on the lefthand side of the machine to the "I"position.^Touch the On/Off sensor -.The appliance will be
You can adjust the central spout to suitthe height of the cup you are using sothat the coffee or espresso will not cooldown as quickly and the crema w
Espresso or coffee^Place a cup under the central spout.^ Touch the sensor for the drink youwant:. Espresso/ CoffeeX Select "Long coffee" fro
Cancelling preparationTo cancel preparation:^Touch one of the drinks sensorsagain, or X for "Other drinks" again.Tip: Drink preparation can
Adding ready ground coffeeUse the measuring scoop supplied sothat the correct amount is used.Do not add more than one levelscoop of ground coffee to t
Drinks with milk,Caution. Danger of burning andscalding from the central spout.Liquids and steam dispensed fromthe spouts will be very hot.Do not use
^Place the end of the milk tube in thecontainer making sure that it issufficiently immersed in the milk.Making drinks with milk^Place a suitable conta
You can customise your coffeemachine to suit the type of coffee youare using. The "Parameters" menu ,allows you to adjust the amount ofcoffe
Displaying and changing theparameters of a drink^Touch ,.The , sensor will light up.^Select the drink you want and touchOK.The current settings for th
Pre-brewingWhen the pre-brewing function isswitched on, the freshly ground coffeeis first moistened with a little hot water.Then the remaining water i
Packaging material / Disposal of old machine ...2Warning and Safety instructions ...5Accessor
The flavour of the coffee produceddepends not just on the type of coffeeused, but also on the amount of waterused.You can programme the amount ofwater
Portion sizes for cappuccino andlatte macchiato^Place a suitable containerunderneath the central spout.^Touch H or k until the ingredients forthat dri
You can use the "Settings" menu tocustomise the coffee machine to suityour individual requirements.Calling up the "Settings" menu^
Overview of available settingsThe factory setting for each option is shown in bold.Option Available settingsLanguage deutsch, english and other langua
LanguageYou can select a language and countryfor all display texts.Tip: If you select the wrong languageby mistake, you can find the"Language&quo
The programmed times will, however,remain in memory and will bereactivated after manually switching themachine on again.Switch off atUse the arrow sen
Locking the coffee machine(System lock 0)You can lock the coffee machine toprevent it being used without yourknowledge, by children, for example.Activ
Quick guideClean the coffee machine regularly to avoid a build-up of bacteria.Recommended frequency What do I have to clean / maintain?Daily(before yo
,Danger of burning and scaldingon hot components or by hot liquids.Always allow the coffee machine tocool down before cleaning it.Caution. Water in th
Milk pipeworkEnsure that all components in whichmilk is transported are cleaned on aregular basis.Milk naturally contains bacteria thatrapidly multipl
Time ...34Timer ...34Eco mode...
Cleaning the milk pipework withMiele cleaning agent for milkpipework^Touch X and select "Maintenance".^Select "Clean milk pipework"
The central spout withcappuccinatoreClean the central spout cover by handonly using warm water and a littlewashing-up liquid.All other parts are dishw
If the milk pipe is blocked, clean itunder running water with the brushsupplied.^Insert the brush in the tube and moveit back and forth as far as it w
Water containerClean the water container lid by handonly using hot water and a littlewashing-up liquid.Change the water every day to preventa build-up
Drip tray and waste containerClean the drip tray and wastecontainer every day to avoidunpleasant smells and mildew.The waste container is located in t
Bean container and groundcoffee chute,Disconnect the coffee machinefrom the power supply beforecleaning.Tip: Use a vacuum cleaner to removeany coffee
If you cannot remove the brew unit orcan only do so with difficulty, the brewunit is not in the correct position (See"Problem solving guide"
Degreasing the brew unitDepending on the natural oil content ofthe coffee used, the brew unit canbecome blocked quite quickly. Use thecleaning tablets
HousingExternal surfaces may sufferdiscolouration or damage if soiling isleft on them for too long. Removesoiling immediately.Make sure that water can
When descaling the machine, coverdelicate surfaces and naturalflooring to prevent damage fromsplashes of descaling solution.Ensure that any splashes o
This coffee machine complies with current safety requirements.Improper use can, however, present a risk of both personal injuryand material damage.To
^Place 1 descaling tablet in the water.Ensure that you adhere to the mixingratio for the descaling tablets. It isimportant that you do not fill thewat
Most problems that occur during daily use can be easily corrected. With the helpof the following guide, you will be able to find the causes of problem
Message Possible cause and remedy"Too much groundcoffee"There is too much ready ground coffee in the ground coffeechute.If more than one lev
Message Possible cause and remedyF73or"Check the brewunit"The brew unit cannot be positioned correctly.^Switch the machine off with the On/O
Unusual performance of the coffee machineProblem Possible cause and remedyThe lightingremains off afterthe coffeemachine hasbeen switched on.The light
Problem Possible cause and remedyThe coffeemachine does notswitch itself on,although the"Switch on at"setting has beenactivated for thetimer
Problem Possible cause and remedy"Empty the driptray" appears inthe display, eventhough the driptray is empty.The drip tray is not positione
Problem Possible cause and remedyMilk is dripping orrunning out of thecentral spout eventhough no milk isbeing dispensed.The level of milk in the milk
Problem Possible cause and remedyAfter switchingthe machine amessage appearsprompting you toempty the driptray and the wastecontainer eventhough they
Unsatisfactory resultsProblem Possible cause and remedyThe consistency ofthe milk froth isunsatisfactory.The milk temperature is too high. Good milk f
Safety with children,There is a danger of burning and scalding from the coffeeand hot water dispensing spouts.Children's skin is far more sensiti
Problem Possible cause and remedyThe crema on thecoffee or espressois not as it shouldbe.The grinder setting is not correct.^Set the grinder to a fine
If you are not going to use the coffeemachine for an extended period oftime, e.g. whilst on holiday, or if itneeds to be moved, a number ofprocedures
In the event of a fault which you cannotcorrect yourself, or if the machine isunder guarantee please contact:–your Miele Dealeror–MieleContact details
If the default settings for "Eco mode" orthe "Timer" have been altered, energyconsumption will increase.The message " This se
All electrical work should be carriedout by a suitably qualified andcompetent person only, in strictaccordance with current national andlocal safety r
Please observe the following installationinstructions:Danger of overheating.Please ensure that there is adequateventilation around the machine.Do not
Appliance dimensions66
Current draw in standby mode(default setting)< 0.5 WattPump pressure: max. 15 barThrough-flow heater: 1 stainless steel thermo blockAppliance dimen
Technical safety~A damaged coffee machine is dangerous. Check it for any visibledamage before setting it up. Never attempt to use a damagedcoffee mach
70
718QLWHG.LQJGRP-IELE#O,TD&AIRACRES-ARCHAM2OAD!BINGDON/XON/8474EL#USTOMER#ONTACT#ENTRE4EL%MAILI
M.-Nr. 09 732 130 / 03en-GBCM 6100
~If the coffee machine is installed behind a kitchen furniture door,it may only be used with the furniture door open. Do not close thefurniture door w
Correct use,The spouts present a danger of burning or scalding.The liquids and steam dispensed are very hot.~Please note:–Keep well away from the area
Related products and manuals for Coffee making accessories Miele Coffee System
 (60 pages)
© 2020, manymanuals.com. All rights reserved. | 4.194 s |
 Manymanuals.com
 Manymanuals.de
 Manymanuals.fr
 Manymanuals.it
 Manymanuals.pl
 Manymanuals.cz
 Manymanuals.es
 Manymanuals-pt.com
Comments to this Manuals